5 Best Diy Woodworking Projects For Beginners
If you’ve been wanting to explore the world of woodworking but don’t know where to start, look no further! The “5 Best DIY Woodworking Projects For Beginners” is the ultimate guide for anyone interested in honing their woodworking skills. Whether you’re a complete novice or have dabbled in woodworking before, this product offers a curated selection of beginner-friendly projects that will not only help you learn new techniques but also create stunning pieces for your home. From simple shelves to elegant picture frames, these projects are designed to be accessible and enjoyable for every aspiring woodworker. Get ready to unleash your creativity and embark on a rewarding journey into the world of woodworking!
1. Simple Wooden Shelves
Wooden shelves are a great addition to any room, providing both functionality and aesthetic appeal. If you’re a beginner at woodworking, building a simple wooden shelf is a perfect project to start with. Not only is it relatively easy to construct, but it also allows you to practice basic woodworking skills. With a few materials and some simple steps, you’ll have your very own wooden shelves in no time!
Materials Needed
- Wood boards (preferably pine or plywood)
- Screws
- Screwdriver
- Level
- Measuring tape
- Saw
- Sandpaper
- Wood stain or paint (optional)
Steps to Follow
- Measure and cut the wood boards according to the desired dimensions of your shelves. Remember to cut two boards for the sides and two boards for the top and bottom.
- Sand all the cut boards to ensure a smooth surface. This step is crucial for safety and ensuring the finished shelves look polished.
- Assemble the shelves by attaching the side boards to the top and bottom boards using screws. Make sure to align them properly and use a level to ensure they are straight. It’s recommended to pre-drill holes to prevent splitting the wood.
- Once the shelves are securely built, you can choose to leave them as they are or apply a wood stain or paint for a more finished look. Allow the shelves to dry completely before mounting them on the wall.
- Find the desired location on the wall for your wooden shelves and use a stud finder to locate the wall studs. Mark the spots where the shelves will be mounted.
- Securely attach the shelves to the wall by using screws and screwing them into the wall studs. A level can be used to make sure the shelves are straight and properly aligned.
Tips for Success
- When choosing wood boards, opt for high-quality materials to ensure durability and longevity of your shelves.
- Take accurate measurements and double-check them before cutting the wood to avoid any mistakes.
- Before assembling the shelves, do a dry fit to ensure all the pieces align properly.
- Sanding the wood boards before assembly will help to create a smooth and visually appealing finished product.
- If using wood stain or paint, apply multiple coats for a more vibrant and even finish.
- Use appropriate safety measures, such as wearing gloves and safety glasses, when handling tools and equipment.
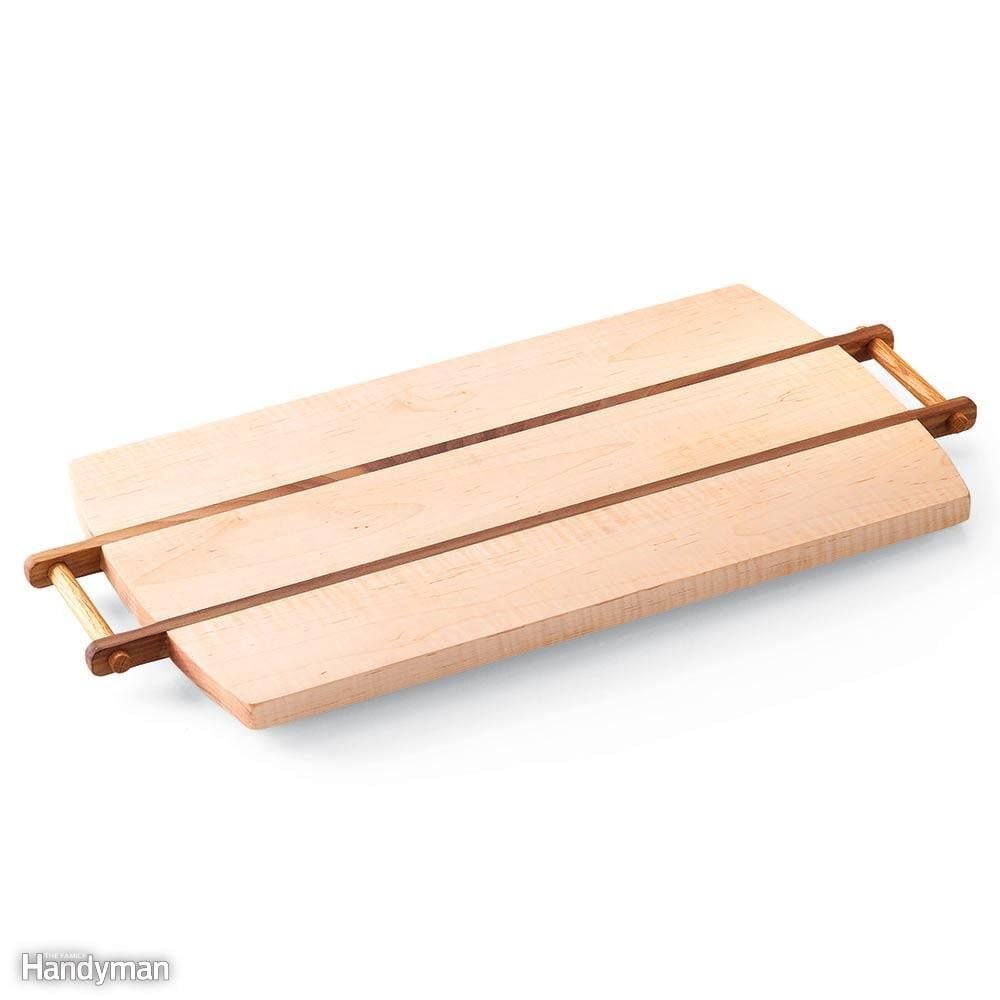
2. Wooden Cutting Board
A wooden cutting board is not only a practical kitchen tool but also a wonderful DIY woodworking project for beginners. With just a few materials and some basic skills, you can create a beautiful and functional cutting board that will perfectly complement your culinary endeavors.
Materials Needed
- Hardwood lumber (e.g., maple or walnut)
- Table saw or circular saw
- Sandpaper
- Food-grade mineral oil or butcher block conditioner
- Rag or brush for oil application
Steps to Follow
- Begin by selecting the hardwood lumber for your cutting board. Hardwoods like maple and walnut are ideal for durability and resistance to knife marks.
- Using a table saw or circular saw, cut the lumber into desired dimensions for your cutting board. The standard size is around 12×18 inches, but you can adjust it according to your preference.
- Once the lumber is cut, use sandpaper to smooth all sides and edges of the boards. Start with a coarse grit sandpaper and gradually move to a finer grit for a polished finish.
- After sanding, wipe off any dust from the boards with a clean cloth or brush.
- Apply a food-grade mineral oil or butcher block conditioner to the entire surface of the cutting board using a rag or brush. This will protect the wood and enhance its natural beauty.
- Allow the oil to soak into the wood for a few hours or overnight. Wipe off any excess oil before using the cutting board.
Tips for Success
- Choose hardwood lumber that is free from knots and cracks for a more durable cutting board.
- Take your time when sanding to achieve a smooth surface. Wipe the boards clean after each sanding stage to remove any debris.
- Apply the food-grade oil in multiple coats, allowing each coat to fully absorb before applying the next. This will ensure maximum protection for your cutting board.
- Regularly maintain your wooden cutting board by oiling it every few months or as needed, especially if it begins to look dry or dull.
- Avoid exposing the cutting board to excessive moisture or heat, as this can cause the wood to warp or crack.
This image is property of www.familyhandyman.com.
3. Bookshelf
If you’re looking to add some organization and style to your home, building a wooden bookshelf can be a rewarding woodworking project. Whether you’re an avid reader or simply want a place to showcase your favorite items, a bookshelf provides both functionality and visual appeal.
Materials Needed
- Plywood or solid wood boards
- Screws
- Screwdriver or drill
- Measuring tape
- Saw
- Sandpaper
- Wood stain or paint (optional)
Steps to Follow
- Begin by measuring the space where you plan to install the bookshelf. This will help determine the dimensions of the bookshelf and what type of materials to purchase.
- Cut the plywood or solid wood boards to the desired size for the bookshelf. This will vary depending on the available space and the number of shelves you want to include.
- Sand all the cut boards to achieve a smooth surface. Pay extra attention to the edges and corners to avoid any rough surfaces.
- Assemble the bookshelf by attaching the shelves to the side panels using screws. Pre-drill holes to prevent splitting the wood and use a level to ensure the shelves are straight.
- If desired, apply wood stain or paint to the bookshelf for a more finished look. Allow the finish to dry completely before placing any items on the shelves.
- Once the bookshelf is ready, position it in the desired location and secure it to the wall for stability. Use appropriate wall anchors or screws to ensure the bookshelf is firmly anchored.
Tips for Success
- Choose the type of wood that matches your interior design and is appropriate for the weight of the items you plan to store on the shelves.
- When cutting the boards, double-check the measurements to ensure a proper fit within the available space.
- Before assembling the bookshelf, do a dry fit to ensure all the pieces align correctly.
- Sand all surfaces thoroughly to avoid splinters and achieve a polished look.
- If applying a wood stain or paint, consider using a primer first to ensure even coverage and longer-lasting finish.
- When securing the bookshelf to the wall, make sure to use appropriate hardware to prevent accidents or instability.
4. Wooden Picture Frame
Displaying your cherished photographs or artwork in handcrafted wooden picture frames adds a personal touch to your home decor. Don’t worry if you’re new to woodworking – creating a wooden picture frame is a beginner-friendly project that anyone can tackle!
Materials Needed
- Wood boards (e.g., pine or oak)
- Miter saw or miter box
- Sandpaper
- Wood glue
- Nails or brad nails
- Picture frame hardware (e.g., wire, hooks, or brackets)
- Finishing nails (optional)
- Wood stain or paint (optional)
Steps to Follow
- Measure and cut the wood boards according to the desired size of your picture frame. It’s common to have mitered corners, so be sure to cut the ends of the boards at 45-degree angles.
- Sand all the cut boards to create a smooth surface. Focus on the mitered edges to ensure a seamless transition when assembling the frame.
- Apply wood glue to the mitered edges and join the corners of the frame together. You can reinforce the joints by using finishing nails or brad nails for extra stability, if desired.
- Allow the wood glue to dry completely before moving on to the next step.
- If desired, apply a wood stain or paint to the picture frame. This step can enhance the natural grain of the wood or add a pop of color to match your decor. Allow the finish to dry completely.
- Attach picture frame hardware, such as wire, hooks, or brackets, to the back of the frame to enable hanging.
Tips for Success
- Choose wood boards that are straight and free from blemishes to ensure a high-quality frame.
- When cutting the boards, be precise and use a miter saw or miter box to achieve accurate 45-degree angles for the corners.
- Take your time when sanding to create a smooth finish. Start with a coarse grit sandpaper and gradually move to a finer grit for the best results.
- Use wood clamps to hold the corners tightly together when applying wood glue to ensure a secure bond.
- If using nails for added reinforcement, make sure to sink them slightly below the surface of the wood and fill the holes with wood filler before finishing the frame.
- Consider customizing your wooden picture frame with decorative elements, such as wood carvings or routed edges, for an extra touch of personalization.
This image is property of empire-s3-production.bobvila.com.
5. Wooden Wine Rack
If you’re a wine enthusiast or simply want an elegant way to store your favorite bottles, building a wooden wine rack is a fantastic DIY project. Not only will it serve a practical purpose, but it also adds a sophisticated touch to your home decor.
Materials Needed
- Wood boards (e.g., pine or cedar)
- Screws or nails
- Screwdriver or hammer
- Measuring tape
- Saw
- Sandpaper
- Wood stain or paint (optional)
Steps to Follow
- Decide on the size and design of your wine rack. Consider the number of wine bottles you want to store and the available space in your home.
- Measure and cut the wood boards accordingly. You’ll need boards for the sides, shelves, and optional dividers.
- Sand all the cut boards to achieve a smooth and polished surface, paying special attention to the edges and corners.
- Assemble the wine rack by attaching the shelves to the sides using screws or nails. If desired, add dividers between the shelves for added stability and organization.
- Once the wine rack is assembled, sand any rough edges or surfaces, and wipe away any dust.
- Apply a wood stain or paint to the wine rack for a more finished look. Allow the finish to dry completely before placing wine bottles on the rack.
Tips for Success
- Choose wood boards that are sturdy enough to hold the weight of wine bottles without sagging or warping.
- Measure the height, width, and length of wine bottles to determine the appropriate dimensions for the shelves.
- Sand all surfaces thoroughly to avoid splinters and achieve a polished appearance.
- When attaching shelves and dividers, use screws or nails that are long enough to provide a secure hold but not so long that they penetrate the other side of the wood.
- If applying a wood stain or paint, consider using a clear coat of polyurethane as a topcoat to protect the wood and make cleaning easier.
- Display your wine rack in a cool and dry area, away from direct sunlight and extreme temperature fluctuations, to preserve the quality of your wine.
6. Outdoor Bench
Creating an outdoor bench is a fantastic woodworking project that allows you to enjoy the great outdoors while showcasing your DIY skills. Whether on your patio, in the garden, or by the poolside, a wooden bench provides comfort and relaxation to any outdoor space.
Materials Needed
- Pressure-treated or weather-resistant wood boards
- Screws or nails
- Screwdriver or hammer
- Measuring tape
- Saw
- Sandpaper
- Wood stain or paint (optional)
Steps to Follow
- Determine the desired dimensions of your outdoor bench. Consider the available space and the number of people you’d like the bench to accommodate.
- Measure and cut the wood boards accordingly. You’ll need boards for the seat, backrest, legs, and optional armrests.
- Sand all the cut boards to achieve a smooth surface. Pay extra attention to the areas where you will be sitting and leaning against.
- Assemble the bench by attaching the legs to the seat and backrest using screws or nails. Ensure the bench is stable and secure before moving on to the next step.
- If desired, add armrests to the sides of the bench by securely attaching them to the legs.
- Once the bench is assembled, sand any rough edges or surfaces, and wipe away any dust.
- Apply a wood stain or paint to the bench for added protection against the elements and a more polished appearance. Allow the finish to dry completely before using the bench.
Tips for Success
- Use pressure-treated or weather-resistant wood boards to ensure the bench withstands outdoor conditions.
- Consider adding additional coats of wood stain or paint for increased durability and longevity.
- When cutting the boards, double-check the measurements to ensure a proper fit and comfort when sitting.
- Use screws or nails that are suitable for outdoor use, such as stainless steel or galvanized hardware, to prevent rusting or corrosion.
- Place the bench on a level surface to ensure stability and prevent tipping.
- If possible, cover the bench or store it indoors during inclement weather to extend its lifespan.
This image is property of empire-s3-production.bobvila.com.
7. Wooden Coasters
Wooden coasters are both functional and decorative, making them a great woodworking project for beginners. They add a touch of nature to your living space while protecting your surfaces from unwanted water rings and heat marks from beverages. Plus, they can be customized to fit any style or theme!
Materials Needed
- Wood blocks or slices
- Sandpaper
- Wood stain or paint (optional)
- Varnish or sealant (optional)
- Felt or cork backing
Steps to Follow
- Start by acquiring wood blocks or slices for your coasters. You can find pre-cut wooden pieces at a local craft store, or you can cut your own from a larger piece of lumber.
- Sand all the surfaces of the wood pieces until they are smooth to the touch. This step helps to avoid any splinters and ensures a polished final product.
- If desired, apply wood stain or paint to the coasters. This step allows you to color the wood and showcase the natural grain. Allow the stain or paint to dry completely before moving on to the next step.
- Once the coasters are dry, you can choose to apply a varnish or sealant to protect the wood from moisture. This step is particularly important if you plan to use the coasters with cold or hot beverages.
- Cut and adhere felt or cork backing to the bottom of each coaster. This will prevent them from scratching or sliding on delicate surfaces.
Tips for Success
- Experiment with different types of wood to achieve unique coasters. Hardwoods like maple or walnut offer excellent durability and a stunning aesthetic.
- Embrace the natural beauty of the wood by applying a clear varnish or sealant instead of painting or staining.
- When sanding, start with a coarse grit sandpaper and gradually move to a finer grit for a smooth finish.
- Choose a felt or cork backing that complements your coaster design and prevents any damage to your furniture.
- Personalize your coasters by engraving or wood burning designs onto the surface.
- Consider making a set of coasters to give as a thoughtful and handmade gift.
8. Jewelry Organizer
If your jewelry collection needs some organization, a wooden jewelry organizer is the perfect solution. This DIY woodworking project allows you to create a beautiful and functional piece that keeps your accessories tidy and easily accessible.
Materials Needed
- Wood boards (plywood or hardwood)
- Saw
- Sandpaper
- Wood glue
- Screws or nails
- Screwdriver or hammer
- Drill (optional)
- Hooks, knobs, or pegs
- Hinges (if desired)
- Wood stain or paint (optional)
Steps to Follow
- Decide on the design and dimensions of your jewelry organizer. Consider the types of jewelry you have and how you prefer to store and display them.
- Measure and cut the wood boards accordingly. You’ll need boards for the sides, shelves, hooks, and optional compartments or drawers.
- Sand all the cut boards to achieve a smooth surface. Focus on any areas where your jewelry will come into contact with the wood to prevent any potential damage.
- Assemble the organizer by attaching the shelves, hooks, and compartments to the side pieces using wood glue and screws or nails. You can also use a drill to create pilot holes for the screws if needed.
- If desired, add hinges to create a foldable or hinged organizer. This allows for easy access and storage, especially if you have limited space.
- Once the organizer is assembled, sand any rough edges or surfaces, and wipe away any dust.
- Apply wood stain or paint to the organizer for a more finished look. Allow the finish to dry completely before using the jewelry organizer.
Tips for Success
- Choose wood boards that match your personal style and provide enough durability to support your jewelry collection.
- Consider adding compartments or drawers to separate different types of jewelry, such as earrings, necklaces, and rings.
- When attaching hooks or knobs, ensure they are securely fastened to prevent them from pulling out under the weight of your jewelry.
- Use a level to ensure your organizer is straight and properly aligned.
- Adding a mirror to the jewelry organizer can provide a convenient spot for jewelry try-ons and make it a versatile piece of furniture for your room.
- Customize your jewelry organizer by adding decorative elements, such as carving or wood burning, to make it truly unique.
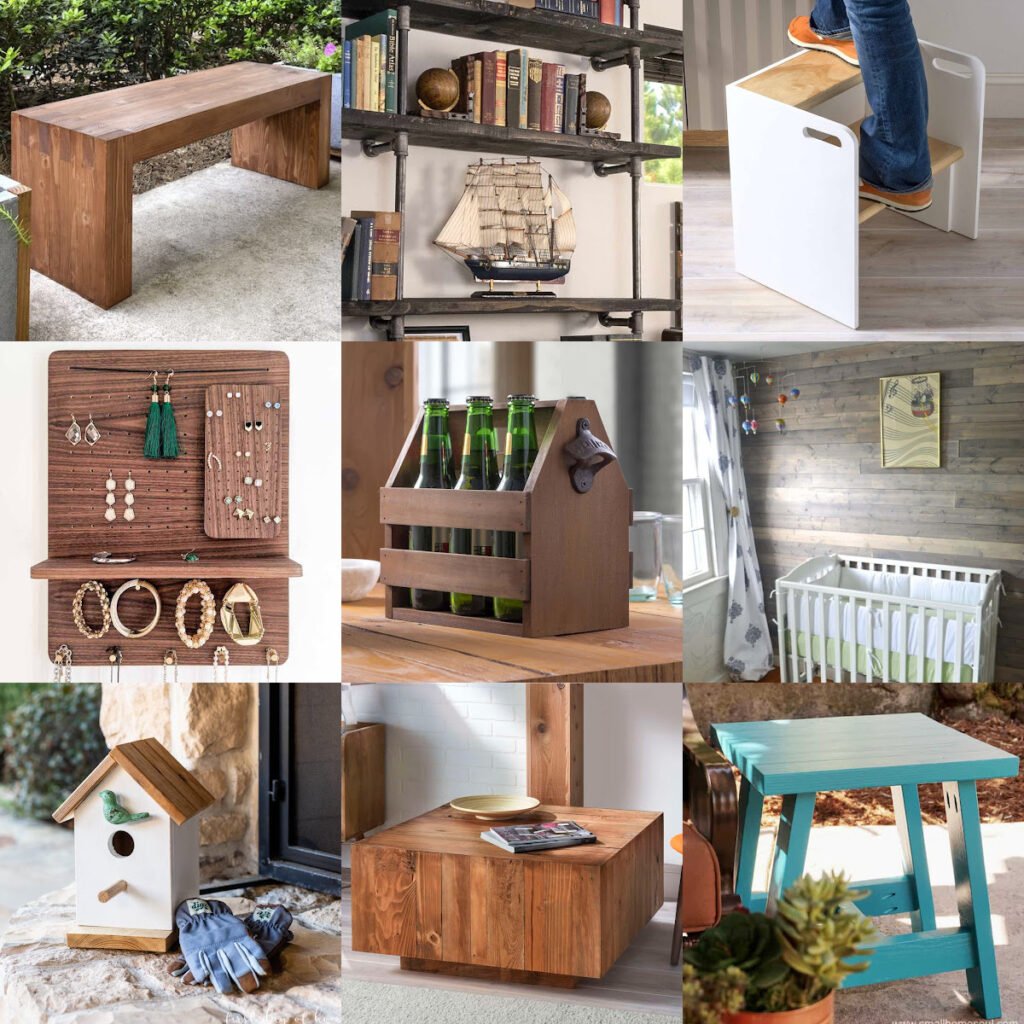
This image is property of diycandy.com.
9. Wooden Planters
Creating your own wooden planters allows you to bring nature’s beauty into your home and garden while showcasing your woodworking skills. These DIY project can be tailored to fit any plant, making it an excellent beginner woodworking project for plant enthusiasts.
Materials Needed
- Wood boards (pressure-treated or rot-resistant)
- Saw
- Sandpaper
- Wood glue
- Screws or nails
- Screwdriver or hammer
- Drill (optional)
- Plastic liner or fabric (for drainage)
- Wood stain or paint (optional)
Steps to Follow
- Decide on the size and design of your wooden planters. Consider the types of plants you want to accommodate and the available space.
- Measure and cut the wood boards accordingly. You’ll need boards for the sides, base, and optional legs or trim.
- Sand all the cut boards to achieve a smooth surface. Pay close attention to the edges that will come into contact with the soil and plant roots.
- Assemble the planters by attaching the sides to the base using wood glue and screws or nails. Ensure the planters are sturdy and secure.
- If desired, add legs or trim pieces to the planters for added decorative appeal.
- To prevent excess moisture from damaging the wood, line the inside of the planters with a plastic liner or breathable fabric. This will promote proper drainage while protecting the wood.
- Once the planters are assembled and lined, sand any rough edges or surfaces, and wipe away any dust.
- Apply wood stain or paint to the planters for a more finished look. Choose a finish that is safe for plants and allows for proper moisture evaporation. Allow the finish to dry completely before planting.
Tips for Success
- Opt for pressure-treated or rot-resistant wood boards to ensure the longevity and durability of your planters.
- Consider the size and growth requirements of your plants when determining the dimensions of the planters.
- Pre-drill holes when using screws to prevent the wood from splitting.
- Line the bottom of the planters with rocks or gravel before adding soil to promote better drainage.
- Use a plastic liner or breathable fabric between the wood and soil to protect the wood from prolonged moisture contact.
- Be mindful of proper watering practices to avoid overwatering and potentially damaging the wood.
- If placing the planters indoors, consider using a tray or saucer underneath to catch any excess water and prevent damage to your surfaces.
10. Serving Tray
Creating a wooden serving tray allows you to show off your woodworking skills while serving your guests in style. This versatile and practical DIY project can be tailored to any occasion or decor, making it an excellent choice for beginners.
Materials Needed
- Wood boards (plywood or hardwood)
- Saw
- Sandpaper
- Wood glue
- Screws or nails
- Screwdriver or hammer
- Handles or knobs
- Wood stain or paint (optional)
Steps to Follow
- Decide on the size and shape of your serving tray. Consider the intended use and the available space for serving.
- Measure and cut the wood boards accordingly. You’ll need boards for the sides, base, and optional handles or trim pieces.
- Sand all the cut boards to achieve a smooth surface. Focus on the edges and corners to avoid any rough areas.
- Assemble the serving tray by attaching the sides to the base using wood glue and screws or nails. Ensure the tray is sturdy and secure.
- If desired, add handles or trim pieces to the serving tray for easier transport and added aesthetics.
- Once the serving tray is assembled, sand any rough edges or surfaces, and wipe away any dust.
- Apply wood stain or paint to the serving tray for a more finished look. This step allows you to customize the tray to match your decor or occasion. Allow the finish to dry completely before using the serving tray.
Tips for Success
- Choose wood boards that are sturdy enough to hold the weight of dishes and beverages without sagging or warping.
- Consider using plywood or hardwood with an aesthetically pleasing grain pattern for a more visually appealing serving tray.
- Take your time when cutting the boards to ensure accurate dimensions and a proper fit.
- Use wood glue or adhesive that is suitable for food-safe applications when assembling the tray.
- When attaching handles or trim pieces, make sure they are securely fastened to avoid any accidents or instability.
- Apply a food-safe finish or sealant to the serving tray to make it easier to clean and protect the wood from spills or stains.
- Consider making multiple serving trays with different designs or finishes to accommodate various occasions and personal style.
In conclusion, these 10 DIY woodworking projects for beginners offer endless opportunities to unleash your creativity and explore the world of woodworking. From simple wooden shelves to functional planters and beautiful serving trays, each project provides a combination of practicality and aesthetic appeal. With the right materials, tools, and a friendly approach, you can embark on these woodworking adventures and create stunning pieces that will bring joy and functionality to your home. So grab your toolbox, put on your safety glasses, and let your woodworking journey begin!
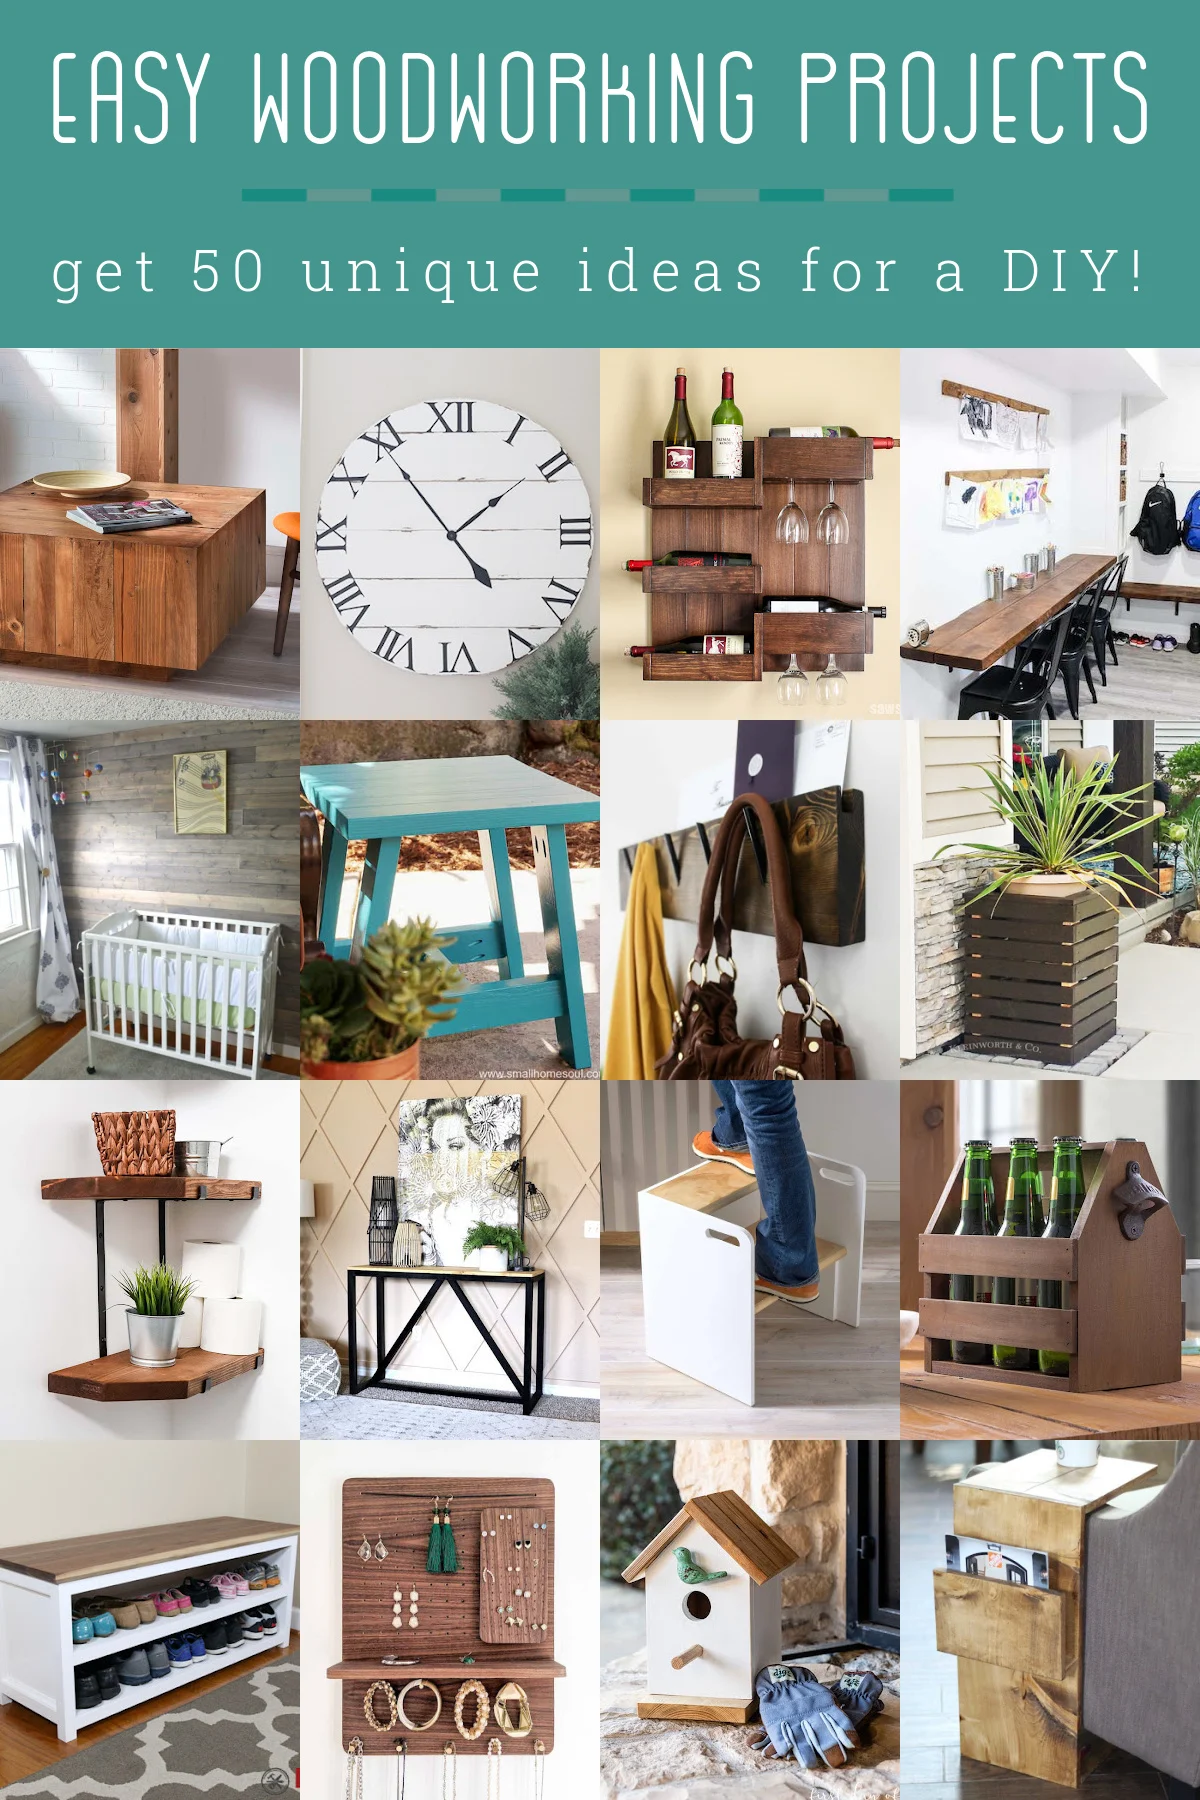
This image is property of diycandy.com.
